#---------DSC Basic PowerShell---------#
#GET DSC Modules
Get-DSCResource


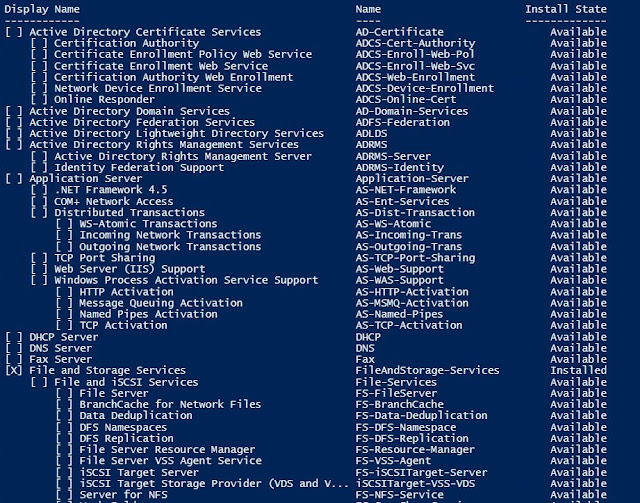
#Get Windows Feature
Get-WindowsFeature
#Find Module Over Internet
Find-Module -name *mva*

#Find and Install Module
Find-Module -name *mva* | Install-Module


#Get DSC Status
Get-DscConfigurationStatus


#GET DSC Local Configuration Manager
Get-DSCLocalConfigurationManager


#---------DSC Configuration to Update LCM properties---------#
#DSC Configuration
[DSCResource()]
Configuration LCMSetUp
{
param()
LocalConfigurationManager
{
ActionAfterReboot = 'ContinueConfiguration'
RebootNodeIfNeeded = $True
ConfigurationMode = 'ApplyAndAutoCorrect'
ConfigurationModeFrequencyMins = 240
RefreshMode = 'PUSH'
}
}
#Generate MOF File
LCMSetUp -Outputpath "c:\DSC\LCMSetUp"
#Update LCM Properties
Set-DscLocalConfigurationManager -path "c:\DSC\LCMSetUp" -force -verbose
#GET DSC Local Configuration Manager
Get-DSCLocalConfigurationManager


#---------DSC Configuration to Install Windows Feature---------#
#DSC Configuration
[DSCResource()]
Configuration WindowFeatureInstall
{
param()
Node localhost
{
WindowsFeature
IISInstall
{
Name="Web-Server"
Ensure="Present"
IncludeAllSubfeature = $true
}
WindowsFeature
SMTP
{
Name =
"SMTP-Server"
Ensure =
"Present"
IncludeAllSubFeature = $true
DependsOn =
"[WindowsFeature]IISInstall"
}
LocalConfigurationManager
{
ActionAfterReboot = 'ContinueConfiguration'
RebootNodeIfNeeded = $True
}
}
}
#Generate MOF File
WindowFeatureInstall -Outputpath
"c:\DSC\WFInstall"
#Intall Configuration
Start-DSCConfiguration -path "c:\DSC\WFInstall" -ComputerName localhost
-force -verbose
-wait


